
RFXCOM Gateway
Description
This devices allows communication between various RF protocols as supported by RFXCOM devices. Just to name a few: X10 RF, Homeeasy, Oregon Scientific, Harrison curtain rails. I primarily use a few Homeasy dimmers, some Homeeasy buttons and the Harrison curtain rails.
What I do not like about these protocols is that they can be very unreliable. In the future I will be replacing this hardware with more reliable items.

Gateway Hardware
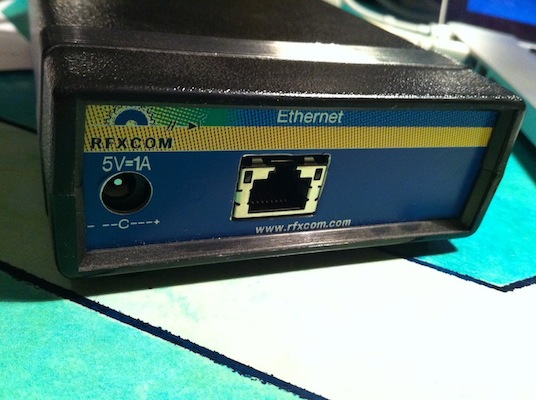
I use an older product from RFXCOM which is a LAN interface which has 2 ports, one for a receiver and one for the transmitter. This immediately poses a problem for the vera device characteristics due to the nature of a luup device having only one communication port. In a luup implementation file events are raised when data arrives. Because of this the read port of RFXCOM is the default port. For any sending that needs to be done a socket connection is made.
Setup gateway device
Use create device on the developer button. Now select D_RFXCOM.xml and enter the ipaddress of the device. The default configuration uses the 10001 port for reading with the device and the 100002 for writing.
Click create and vera will reset leaving a new RFXCOM device. When a message is received it should show on the device.


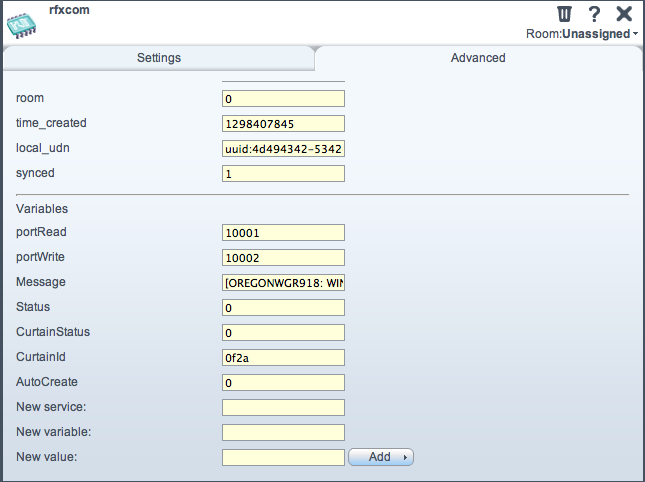
The gateway device has a mode for automatically adding devices. This is turned off by default. Edit the device, go to tab page advanced and set the Auto Create flag to 1. Now close window and save settings. When a new device is detected it will be added automatically.
Configure X10 based Klik Aan Klik Uit (KAKU)
 There are many products which work with the X10 RF protocol. Many devices from Klik aan Klik Uit work according to this system. The devices are very cheap but not always very reliable. I use these products, when they work it is just fine, and when I have bad results I just change to a more decent technology like z-wave.
How to use this. I also have a Remote for these products. I have dimmers that I pair up to the remote. When I push a button on the remote, it now shows up on vera when Auto Create setting is on.
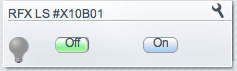
 When you press the button on vera the X10 RF command is sent through the rfxcom device. The name of the device is X10 followed by the house code "B" and then the button number 01 or 02. When the group on or off is pressed there is no button number.
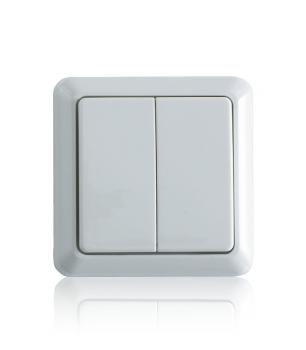
Configure Homeeasy device

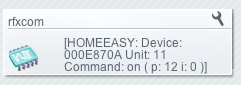
 The homeasy devices work just like the X10 RF products, the are often compatible. The big difference is that each Homeasy device has a unique ID which is auto generated. When you press the buttons on the device show right. You get a new device with prefix HEA and a hexadecimal ID. The last digit is a Hexadecimal number with the unit ID. In this example the ID is "00.0E.87.0A" and the Unit ID is B meaning unit 11.
Configure Visonic device
some new text need to be added here
Configure Harrison Curtain
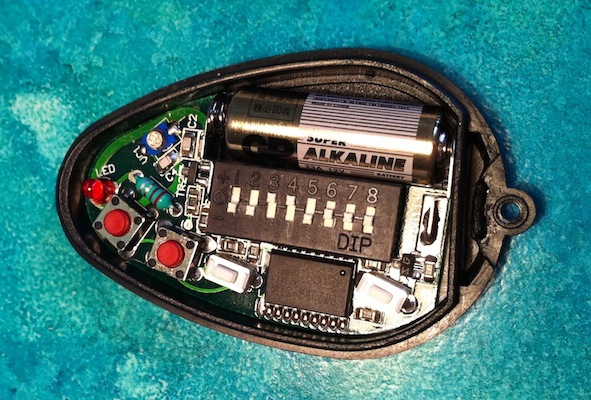
This is the first device that I have implemented. Go to the settings page for the RFXCOM device. Each Harrison curtain remote has a number coded in hexadecimal. The codes can be found by opening the remote. You can see 8 dip switches with an up, middle and down position. Each position gives 2 bits, with 8 switches this gives 16 binary numbers, when split up into 4 segments give 4 hex numbers.

Dip switch in down position gives binary code 00, dip switch in upper position gives 11 and in the middle position gives 10. When you look at my remote, the code found is: 00 00, 11 11, 00 10, 10 10. In hex this gives 0F2A.
Enter this code and click add.

You will now have an additional Harrison device which can be opened, closed or stopped mid action.

Discussion
The RFXCOM plugin is discussed in this forum thread, along with a lot of it's development history: Forum Thread RFXCOM
Attachments
- rfxcom_add_harrison.png (25.2 KB) - added by evanes 14 years ago.
- rfxcom_device.png (12.2 KB) - added by evanes 14 years ago.
- rfxcom_harrison_device.png (8.8 KB) - added by evanes 14 years ago.
- IMG_harrison_remote.jpg (126.0 KB) - added by evanes 14 years ago.
- IMG_rfxcom.jpg (71.4 KB) - added by evanes 14 years ago.
-
ayct-102-1_1.jpg
(42.3 KB) -
added by evanes 13 years ago.
kaku remote
-
HE308.jpg
(5.6 KB) -
added by evanes 13 years ago.
homeeasy schakelaar
-
device_settings.png
(51.5 KB) -
added by evanes 13 years ago.
DEvice settings
-
kaku_remoteB01.png
(14.8 KB) -
added by evanes 13 years ago.
kaku remote met B01
-
he_device.png
(15.8 KB) -
added by evanes 13 years ago.
He Buttons